

Configuring areas and table layouts
Areas and Tables (/admin/tables)
A good organization of the hall helps waiters to orient themselves immediately even during the busiest hours.
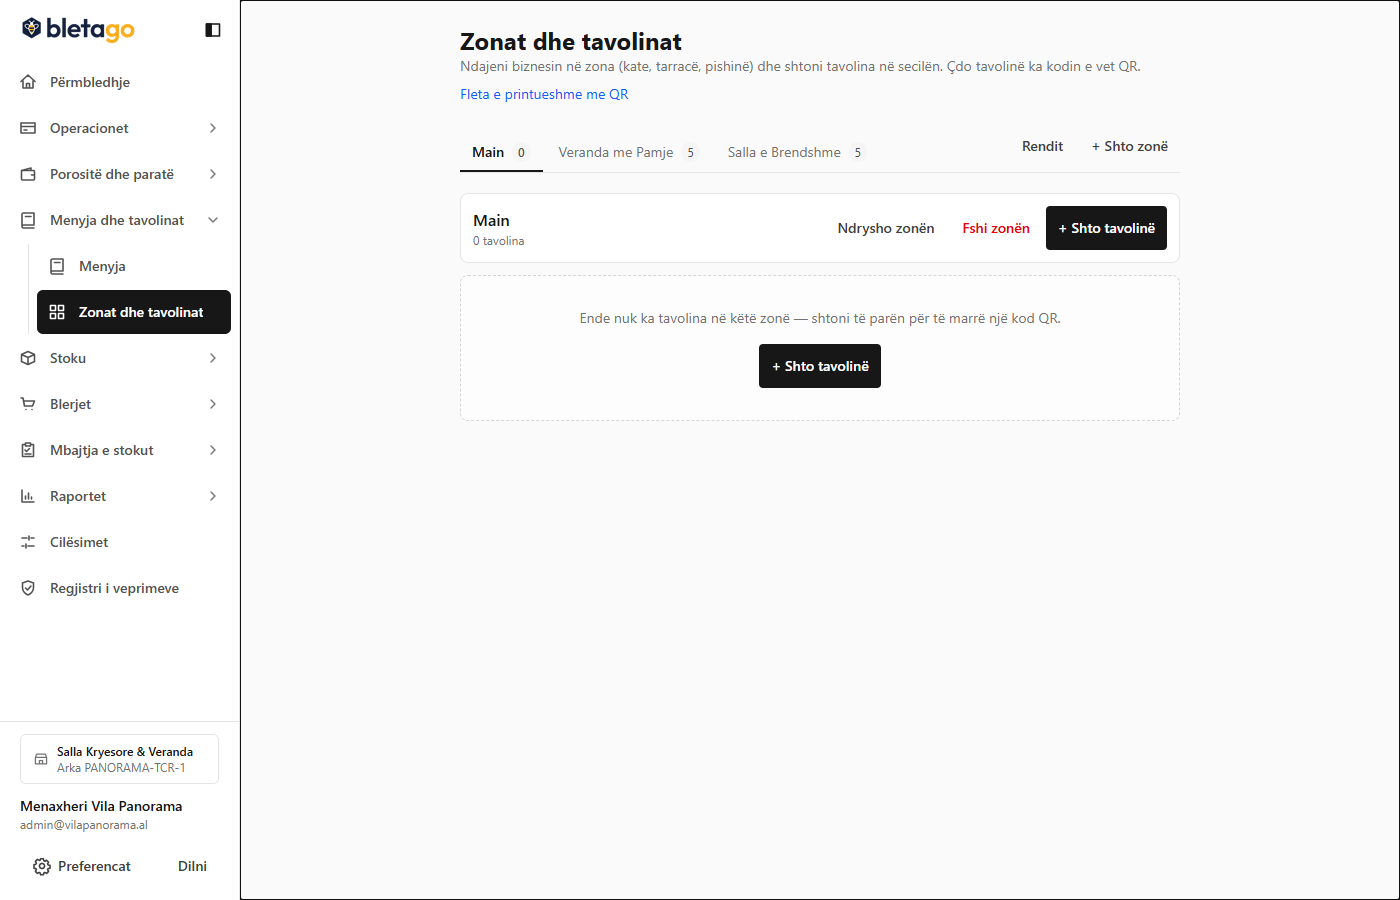
1. Creating Hall Areas:
- Go to Tables -> Service Areas.
- Press Add Zone.
- Enter the name (e.g. Veranda with View, Inner Hall, Second Floor).
- Connect the area to the responsible warehouse.
2. Adding Tables:
- Select the area and press Add Table.
- Set:
- Table Number / Name: (e.g.
1,2,VIP-1). - Seat Capacity: Number of chairs (e.g. 4 seats, 6 seats).
- Table Number / Name: (e.g.
- Visual Floor Plan:
- You can drag tables with the mouse on the screen to accurately reflect their physical location in the restaurant (by the window, in the corner, in the middle of the room).
- The waiter on the tablet will see the hall exactly as it is in reality!